
ASlide decks are a necessity, not only in the business world, but also in the academic world. Having a compelling visual aid helps to capture the attention of the audience and also increase their retention of the information that you are sharing with them.
The main benefit of slide decks is that it helps you to convey your information to your audience in an interesting manner, not only that, but they assist your audience in recognizing your key points and most important parts of your presentation. Slide decks capture the audience and ensure that you have their undivided attention.
One of the best tools for creating slide decks is Google Slides, which is included with your free Gmail account and connected to the cloud, so you can access all your presentations from any computer.
Click here to download our free templates to create beautiful PowerPoint presentations.
To help you create a presentation with Google Slides, we’ve created a hand guide that’ll show you how to turn a blank deck into a compelling one to ensure effective presentations. Read on to learn how.
How to Use Google Slides
- Create or import a presentation.
- Title your presentation.
- Add text to your presentation.
- Insert media, shapes, tables, charts, diagrams, word art, lines, and animation to your presentation.
- Arrange your presentation’s slides.
- Add speaker notes to help you stay on script during your presentation.
- Pick your presentation’s theme and layout.
- Share your presentation to collaborate with others.
- Present your slideshow.
- Download your presentation in other formats.
Google Slides Tutorial
1. Create or import a presentation.
To create a new presentation in Google Slides, go to your Google Drive, click new, and select “Google Slides”.
If you want to import and convert an existing presentation from PowerPoint to Slides, go to your Google Drive, click new, and select “File Upload”.

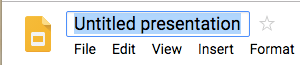
2. Title your presentation.
Click “Untitled presentation” to title your presentation.
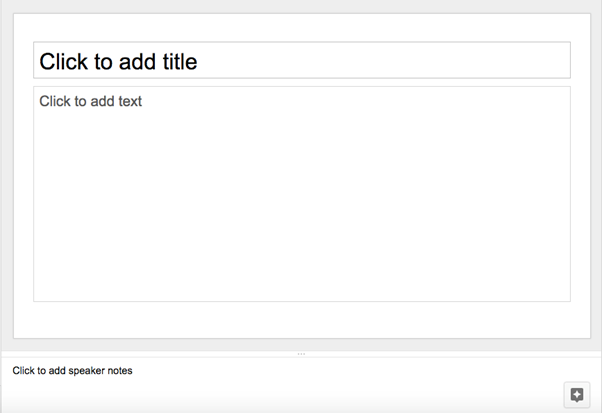
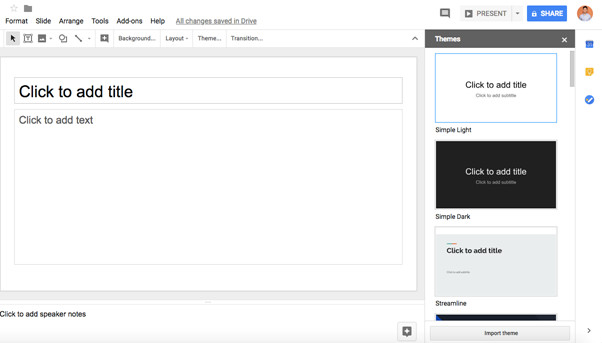
3. Add text to your presentation.
Click each slide to add text to your presentation. Each of your text boxes’ size and placement is adjustable. To add another text box to your presentation, click “Insert”, select “Text box”, and place and size your text box however you want.

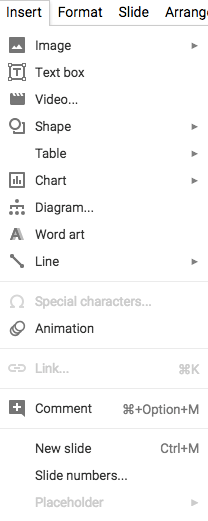
4. Insert media, shapes, tables, charts, diagrams, word art, lines, and animation to your presentation.
Click “Insert” and choose “Image”, “Video”, “Shape”, “Table”, “Chart”, “Diagram”, “Word Art”, “Line”, or “Animation” to place these elements in your presentation. You can also move, re-size, and delete these elements.
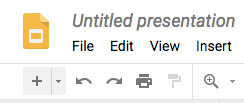
5. Arrange your presentation’s slides.
To add a new slide to your presentation, click the “+” button on the far left side of your toolbar.
If you want to move a slide to a different spot in your presentation, drag it to your preferred location. To move multiple slides within your presentation, press the “Ctrl” button on your keyboard and click the slides you want to move around.
If you want to duplicate a slide, right-click it and choose “Duplicate slide” in the toolbar. To delete a slide, right-click it and choose ”Delete” in the toolbar.
6. Add speaker notes to help you stay on script during your presentation.
In each of your slides, you can add speaker notes at the bottom of your page to stay on script during your presentation.
7. Pick your presentation’s theme and layout.
After you finish fleshing out your presentation, pick a theme and layout to make it more visually appealing and consistent. To choose a theme, click “Theme” in the toolbar and a wide selection of themes will pop up on the far right side of your page.
If you don’t like any of the themes Google Slides offers, click “Import Theme” at the bottom of the popup. You can implement the themes from any of the presentations you’ve created, edited, or viewed in the past. You can also upload themes from existing PowerPoints that are saved on your computer.
8. Share your presentation to collaborate with others.
After you finish creating your presentation, you can share your presentation with others so they can edit, comment, or view it. To do this, click “Share” at the top right corner of your page.
If you want to collaborate with others and polish your presentation, you can comment on any element of your presentation and direct comments to specific people.
To comment on your presentation, click the comment icon, which is right next to the “Present” button at the top right corner of your page.
To address comments to specific people, press the “+” button on your keyboard and type in your colleague’s email address.

9. Present your slideshow.
When you’re ready to present your slideshow, click the “Present” button at the top right corner of your page.

If you want to look at your speaker notes during your presentation, click the down arrow and choose “Presenter view”.

Another useful feature Google Slides offers is “Pointer” — it can turn your mouse into a laser pointer during your presentation. To use it, click the “Pointer” button at the bottom of your page

If you’re presenting on a tight schedule, it might be easier to field questions during your presentation rather than after. Fortunately, with Google Slides, you can host a Q&A during your presentation by clicking the “Q&A” button at the bottom of your page.
When you do this, a web page asking you if you want to accept questions from your audience will pop up. The questions your audience asks will also appear on this web page.
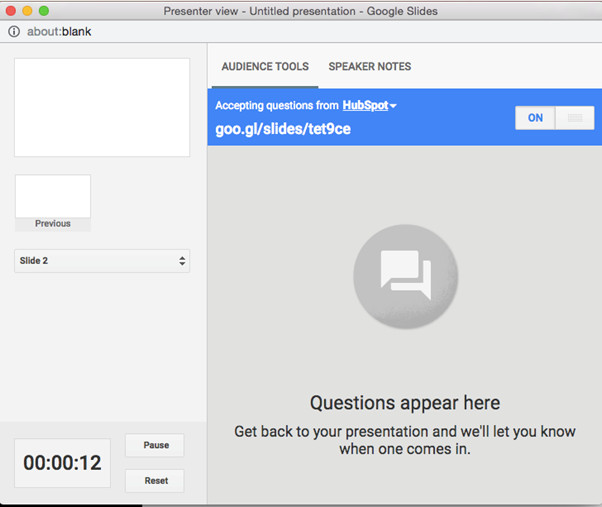
If you decide to field questions from your audience during your presentation, it’ll look like this:

Your audience can click on the link at the top of the presentation, which will direct them to a new page where they can enter their questions.
10. Download your presentation in other formats.
Once you’ve completed your presentation, you can download it as another format to send to your audience or keep for future reference. To do this, choose “File” and “Download as” to download your presentation as one of the following formats:
- Microsoft PowerPoint (.pptx)
- ODP (.odp)
- Text File
- JPEG
- PNG
- Scalable Vector Graphics (.svg)
It’s as simple as that. We hope this guide to using Google Slides will help you create and present engaging slide decks that will capture the attention of your colleagues and potential customers.
Happy presenting!
